BEHIND THE EDIT · EQUINE FINE ART
HORSE PHOTOGRAPHY · PHOTOSHOP · FINE ART
Compositing My Way to a Painterly Horse Portrait How I turned a great moment into the finished portrait I wanted
Sometimes you get the exact moment you want — but the photograph still isn’t quite there. Here’s how I used a few extra frames, compositing, and a little Photoshop problem-solving to build the final painterly horse portrait.
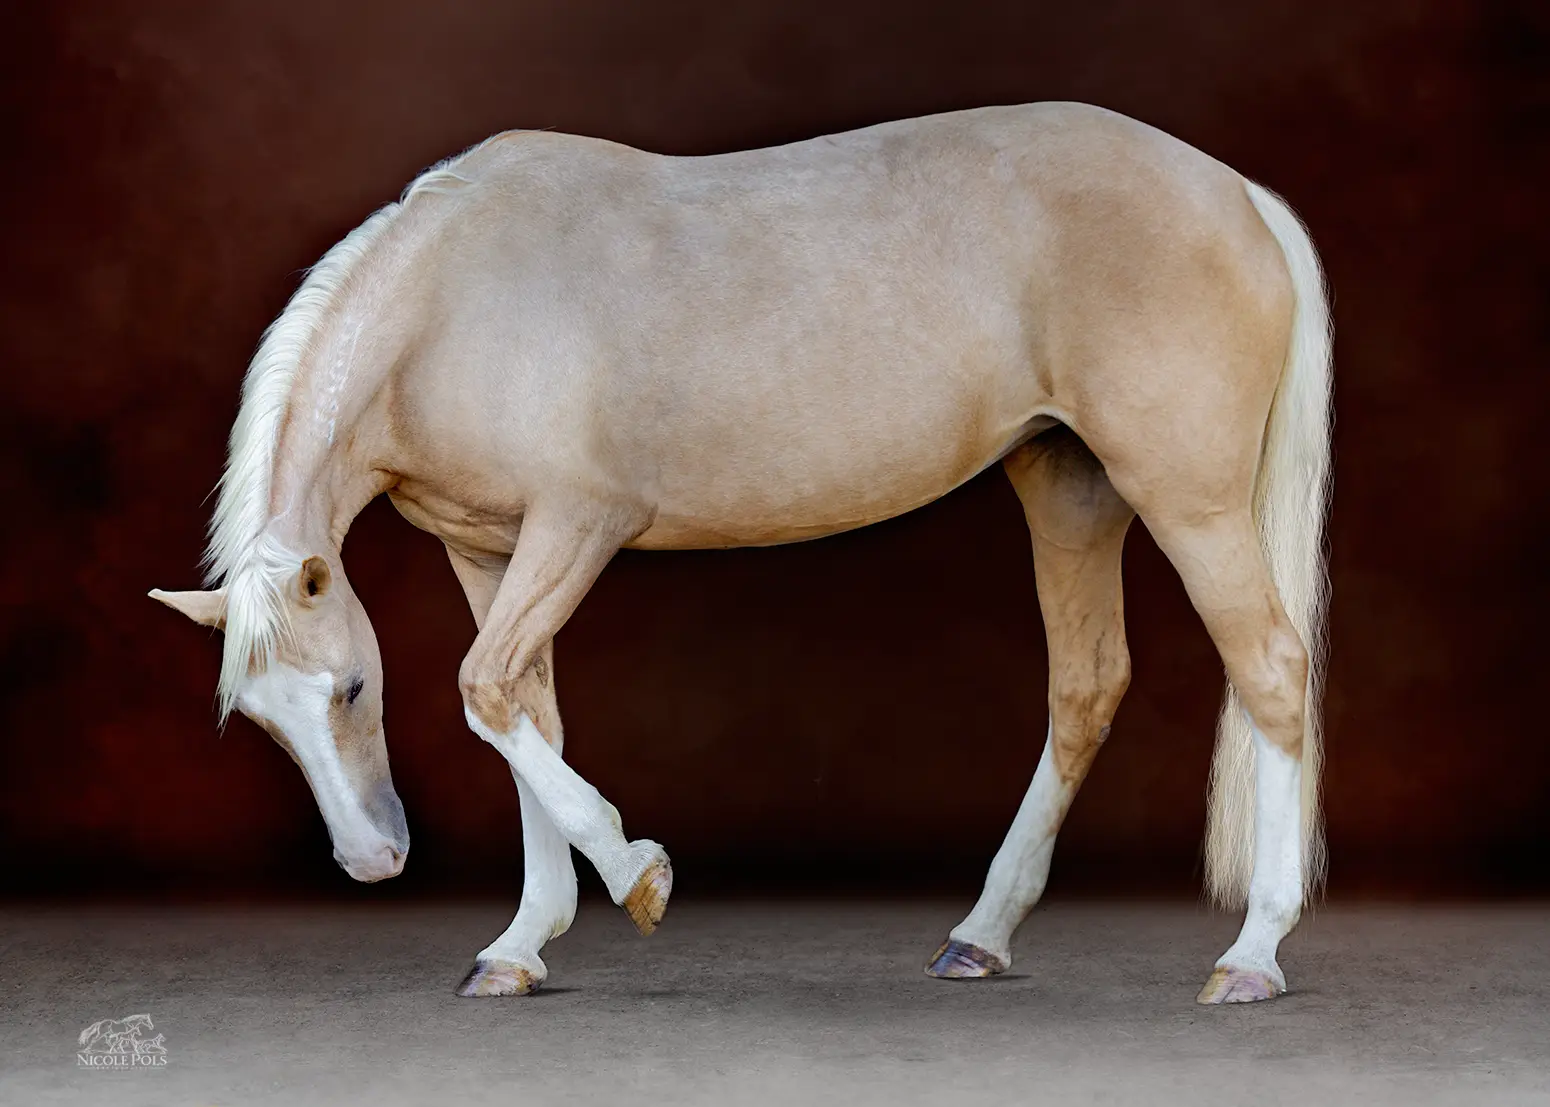
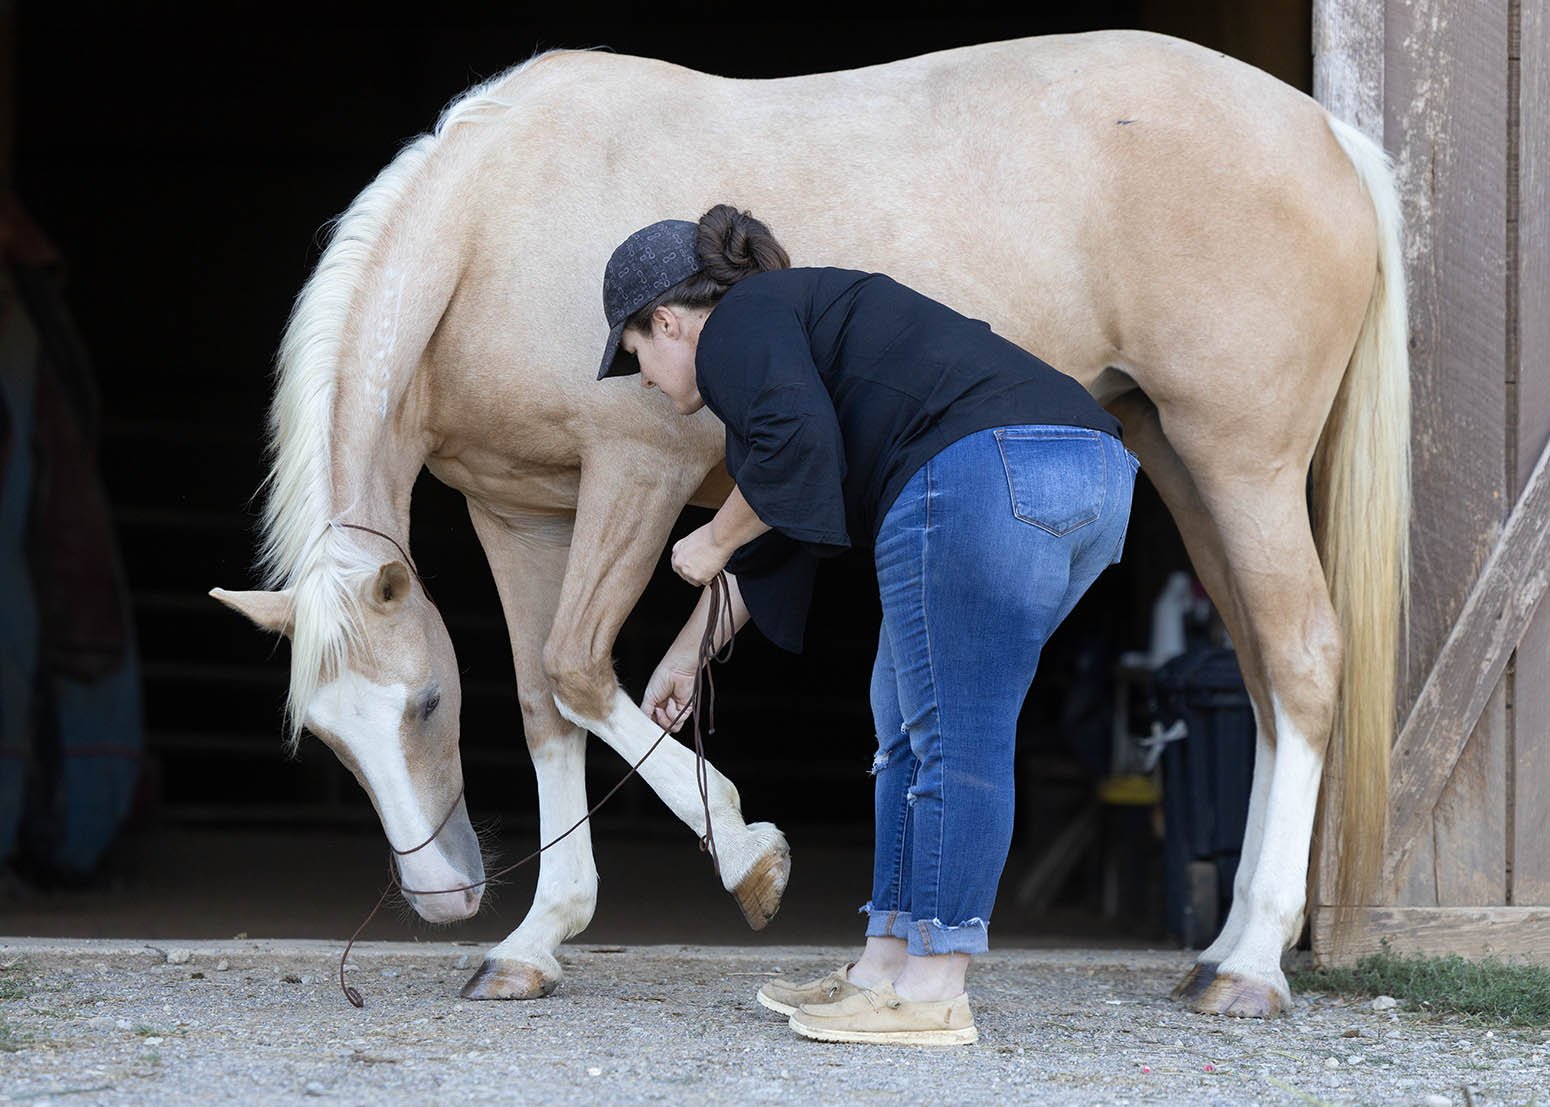
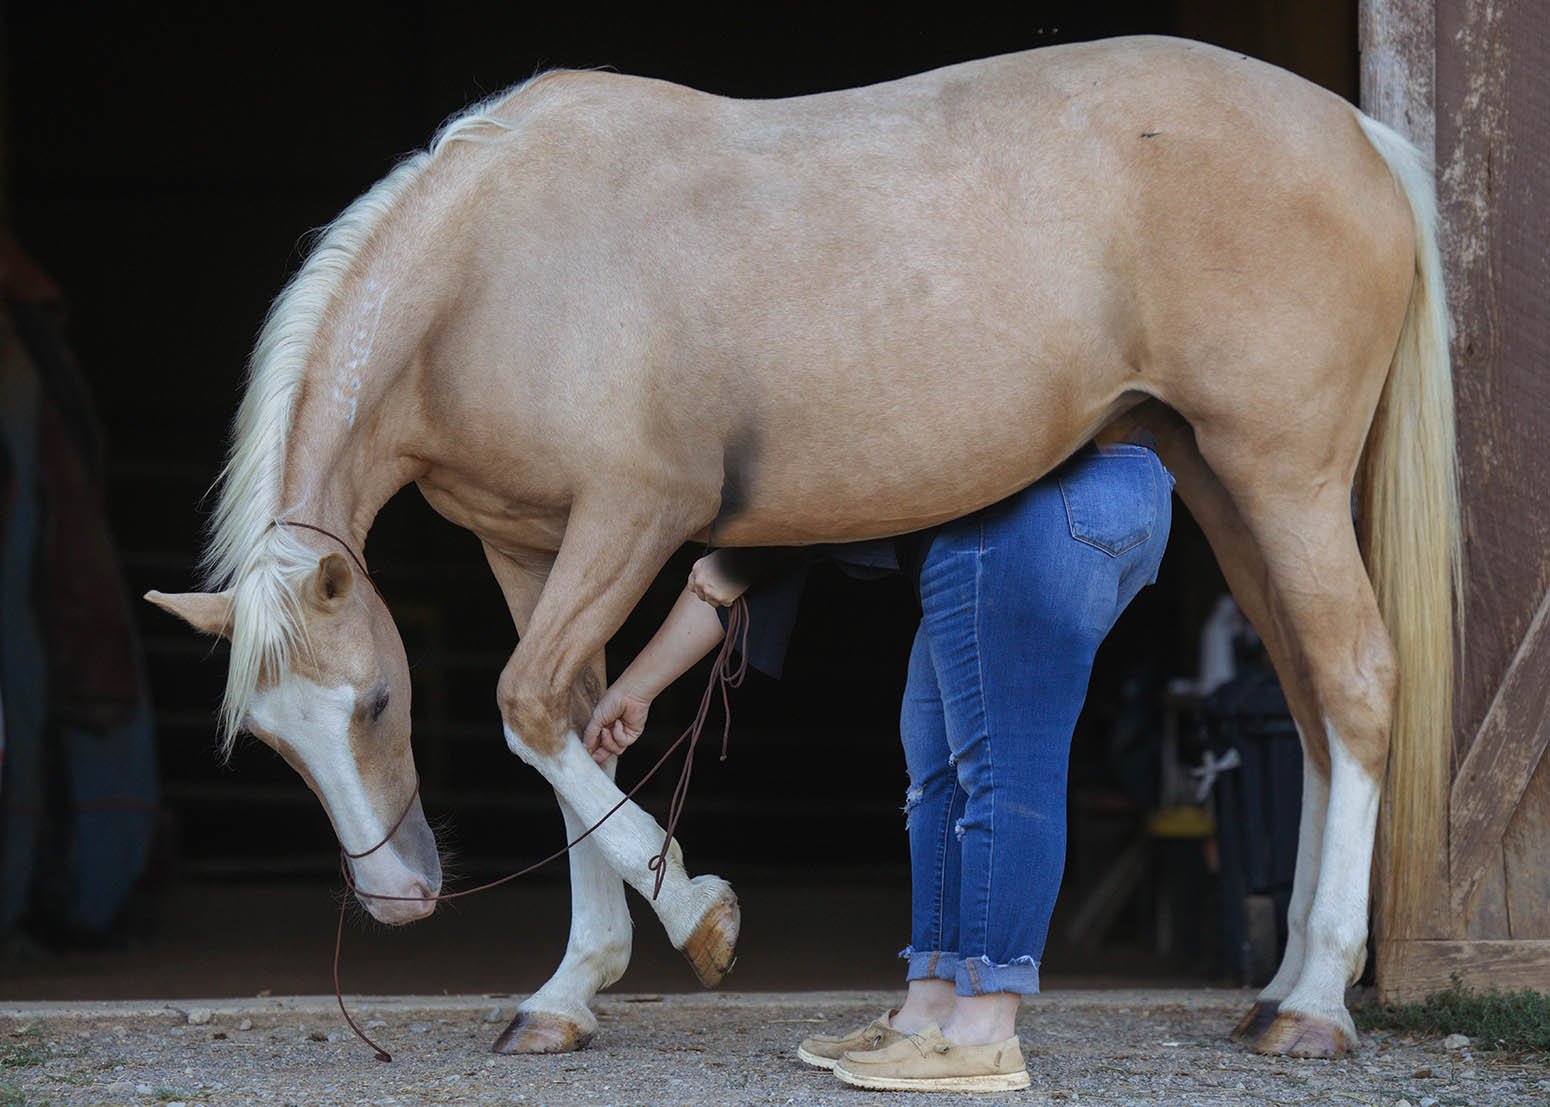
Photo 1: The Moment I Loved (But It Wasn’t Perfect Yet)
I LOVED how she lifted her leg here. That’s the moment. That’s what I wanted. But of course the owner is standing right there in the frame. Perfect moment, not the perfect image.
Every equine photographer knows this feeling. The horse gives you that moment — and someone walks right into your frame. You can’t always ask the owner to step out mid-shoot, and you definitely can’t ask the horse to redo that exact leg lift. So you work with what you’ve got… and you get creative with compositing to build the painterly horse portrait you really wanted.
Photo 2: The Spare-Parts Photo
So I took a second photo of just the horse. Didn’t care about her face. Didn’t care about anything fancy. I just needed clean belly and back — the parts the owner was covering in the first shot. Just some spare parts from this photo.
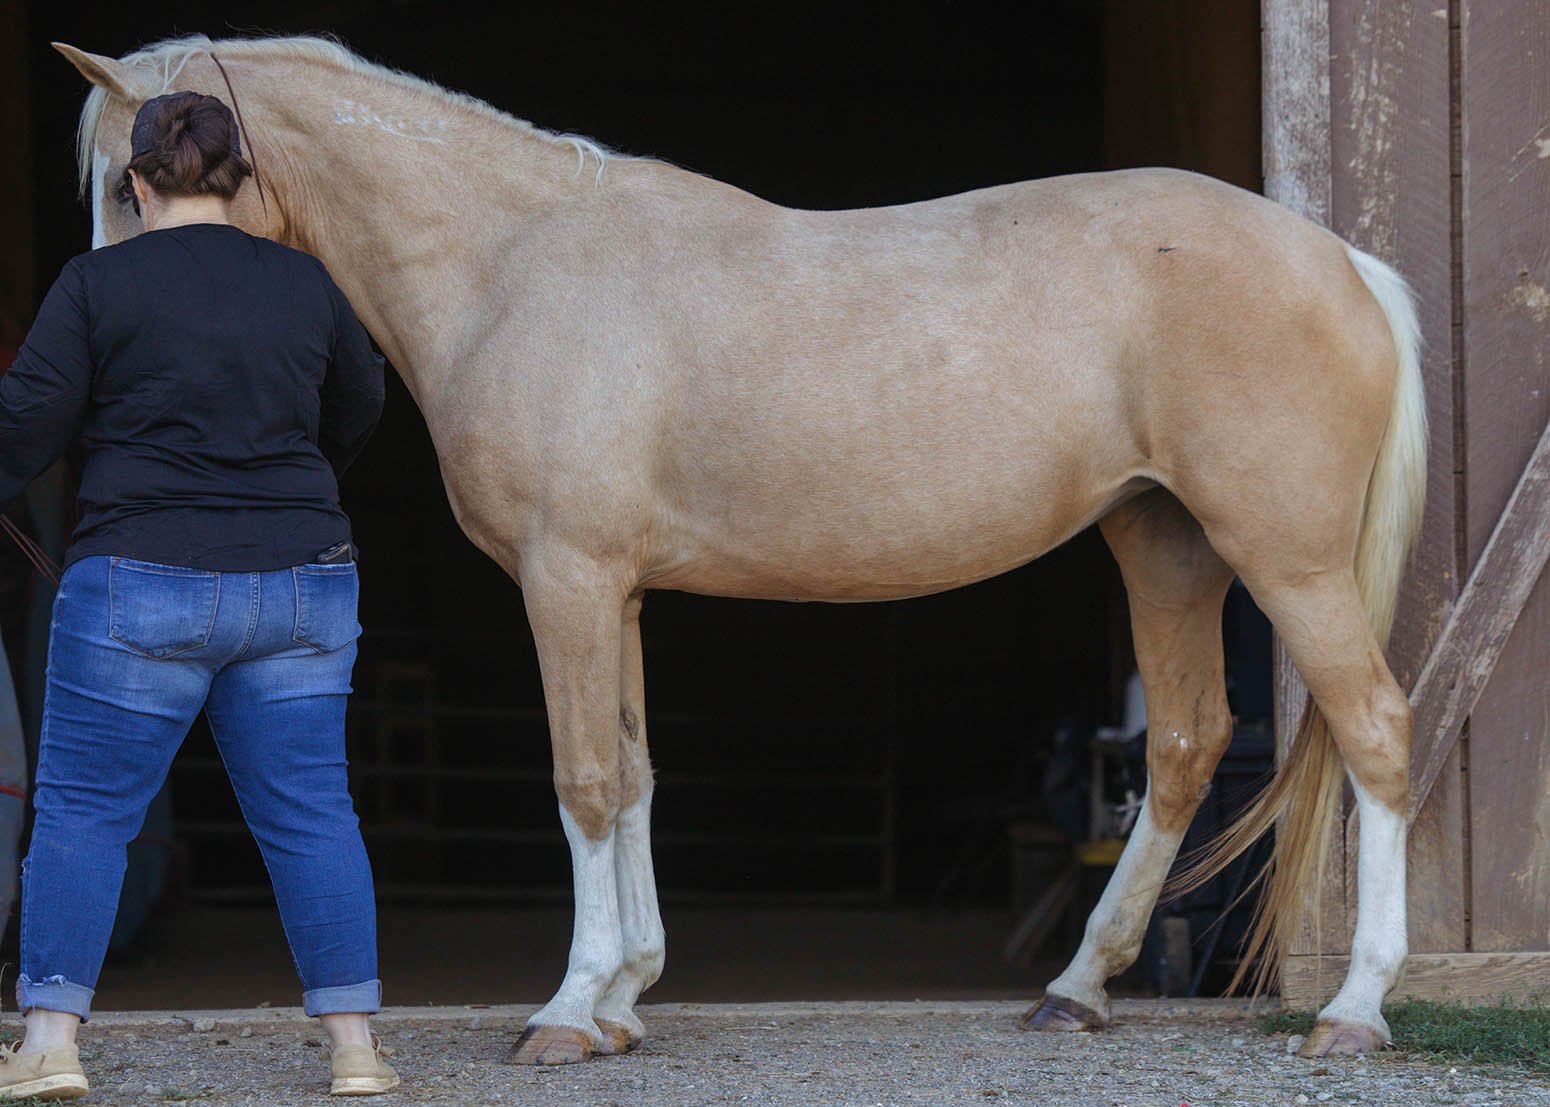
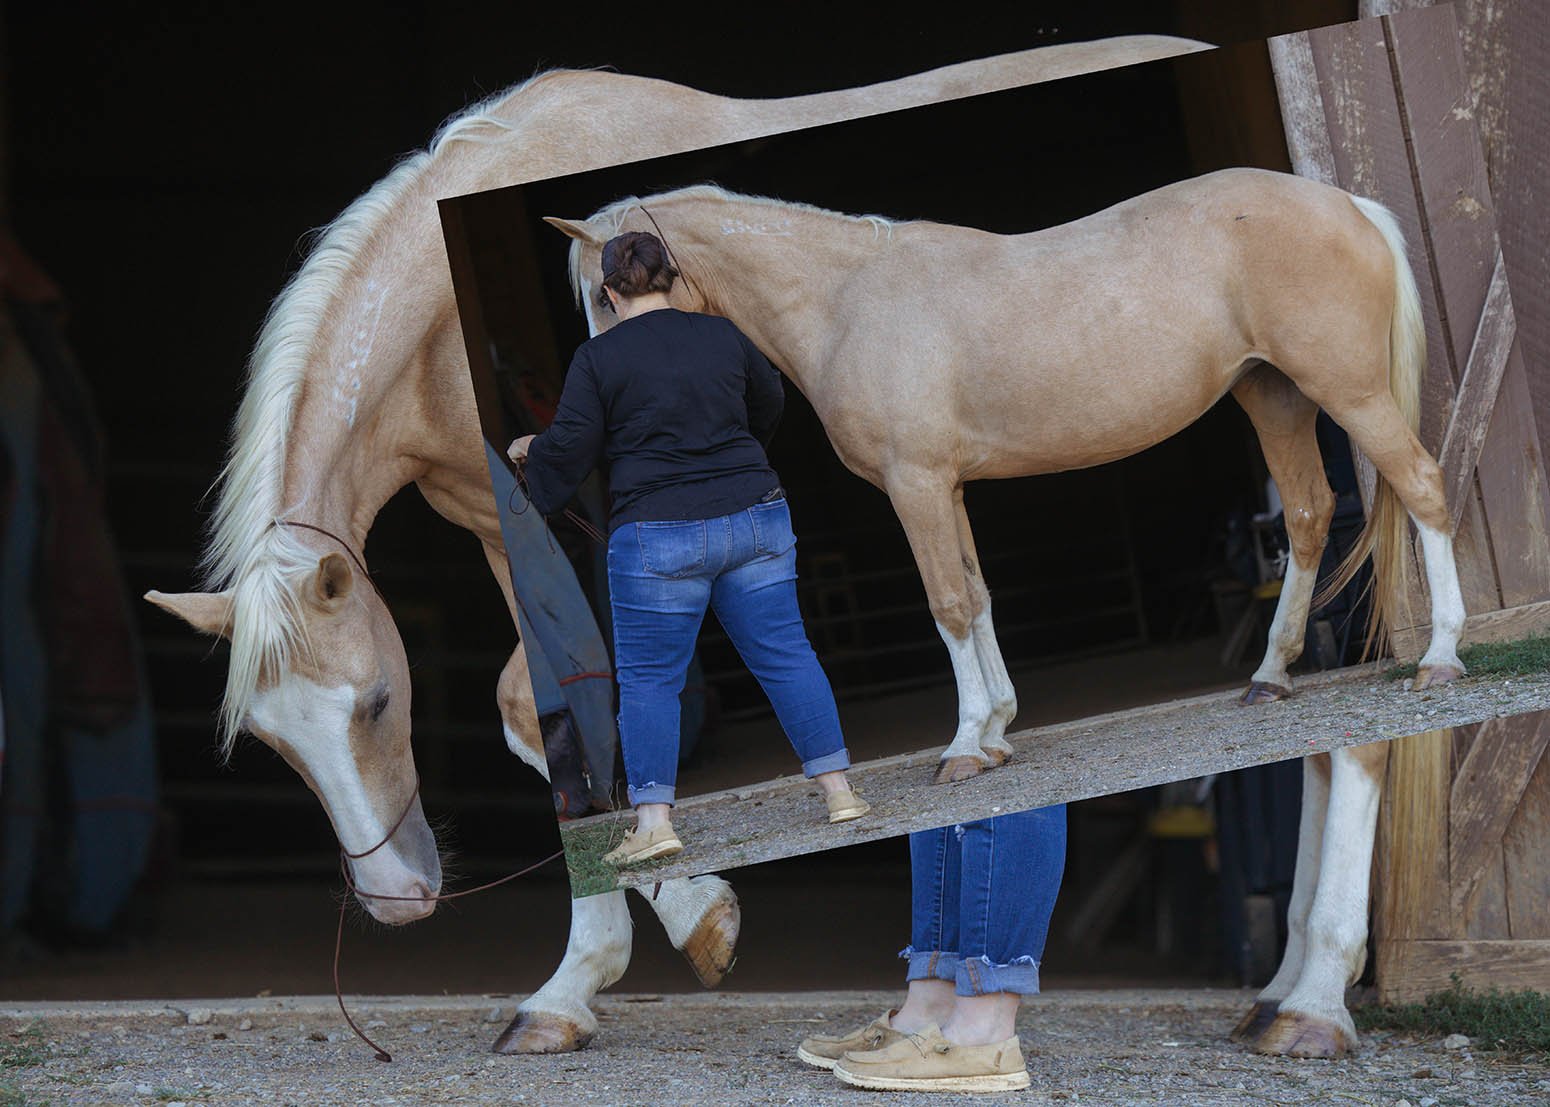
Photo 3: The Hot Mess Compositing Step
Now I stack ’em together and try to line everything up. This is the part where it looks like a hot mess and you’re like “girl what are you doing.” But I can see it. I know where this is going……
Photo 4: Can You See It Now?
There she is. Can you see it now? The owner is half gone. The belly and back are clean. The moment I fell in love with is still there — that beautiful leg lift. This is how I build a painterly horse portrait when the perfect moment doesn’t come with the perfect frame.
From here I paint in the painterly background, warm up the tones, add a little texture, and fine-tune the whole thing until it feels like a fine art portrait instead of a snapshot. The compositing got me 90% of the way there — the last 10% is where the art happens.
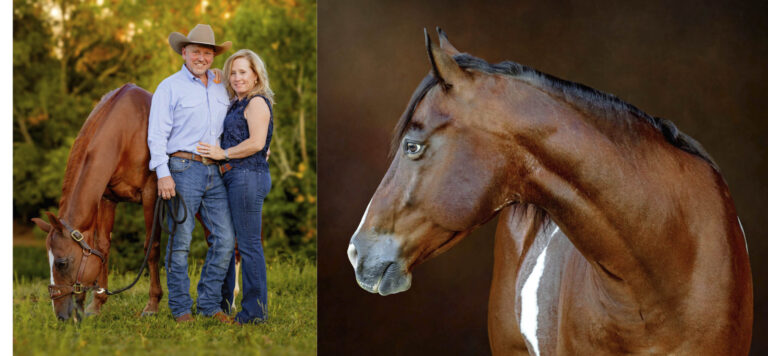
The Final Painterly Horse Portrait
Sometimes it’s problem-solving. Sometimes it’s taking photos you’ll never show anyone just to build the one you will.
Tips for Painterly Equine Portrait Editing
A few things I’ve learned along the way that help take a composite from “okay” to “oh wow”
Shoot Your “Parts” Photos from the Same Spot
When you take that second photo for spare parts, try to stand in the exact same place you were for the first one. Same height, same angle, same distance. This makes lining everything up SO much easier later. If the horse moves a little, that’s fine — but your camera position should stay put.
Use Layer Masks, Not Erasing
When you’re blending two photos together, use layer masks in Photoshop instead of the eraser tool. A layer mask lets you hide and reveal parts of your photo without permanently deleting anything. Paint with black to hide, paint with white to bring it back. It’s like using a stencil instead of cutting with scissors — you can always undo it! This is the #1 secret to clean, believable composites. You can learn the basics of layer masks from Adobe’s official guide.
Match the Light Direction
This is the thing that gives away most composites — the light doesn’t match. If your horse in Photo 1 has light coming from the left, but your spare-parts photo has light from the right, the blend will look “off” even if you can’t explain why. Always check which direction the light is coming from and make sure both photos agree.
Don’t Forget the Shadow Under the Horse
When you remove a person or replace a background, the shadow on the ground often goes with them. Paint a soft shadow back in under the horse’s belly and feet. It doesn’t have to be perfect — just a soft, dark shape where the shadow would naturally fall. Without it, your horse will look like she’s floating. With it, she looks grounded and real.
The Painterly Look Comes Last
Get your composite looking clean and realistic FIRST. Then add the painterly magic: textured backgrounds, soft glow, warm tones, maybe a subtle texture overlay. Think of it like painting a wall — you fix the holes and cracks before you add the pretty color. The painterly background should feel like an oil painting: warm, soft, and a little dreamy.
Less Is More with Textures
When adding painterly textures to your background, start with the opacity LOW — like 15-25%. You can always add more, but it’s hard to take away. The texture should enhance the painting feeling, not scream “I put a texture on this.” Subtlety is what makes it look like fine art instead of a filter.
Take Way More Photos Than You Need
Seriously. Shoot extras. Shoot from slightly different angles. Shoot a frame where the horse’s ears are perfect. Shoot a frame where the legs are clean. You might use pieces from three or four different photos to build one final image. These are photos nobody will ever see — they’re just ingredients. But without them, you can’t bake the cake.